A passport photo is a strange kind of picture. Nobody wants it, nobody looks good in it, and the only opinion that matters is that of a clerk checking whether your head is the right number of millimetres tall. That is genuinely good news, because it means there is no talent involved. There is only a list of rules, and a phone camera is perfectly capable of meeting them.
What follows is the whole process, in order: taking the picture, knowing which rules cause rejections, cropping to the official size, and printing it. Allow about fifteen minutes the first time.
Step 1: taking the picture
Almost every rejected photo is rejected because of how it was taken, not how it was cropped. Five things matter.
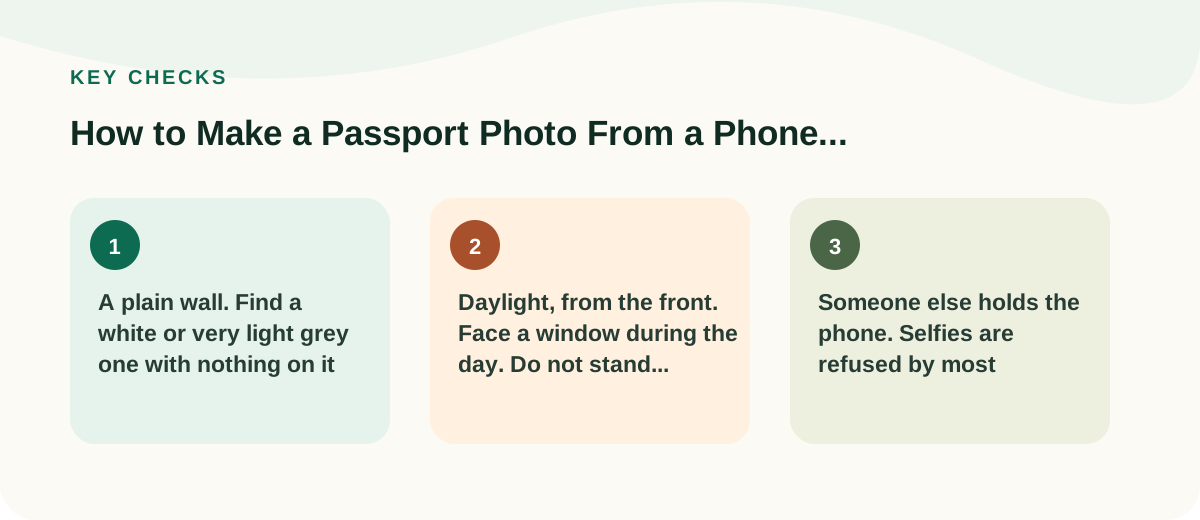
- A plain wall. Find a white or very light grey one with nothing on it — no picture frames, no light switch behind your head. Stand about a step away from it so you do not cast a shadow onto it.
- Daylight, from the front. Face a window during the day. Do not stand with the window behind you, and turn the ceiling light off if it is throwing shadows down your face. Never use the flash.
- Someone else holds the phone. Selfies are refused by most passport offices, and an outstretched arm distorts the face anyway. Ask another person to stand roughly an arm and a half away, holding the phone at the height of your eyes, and to use the rear camera because it is the better one.
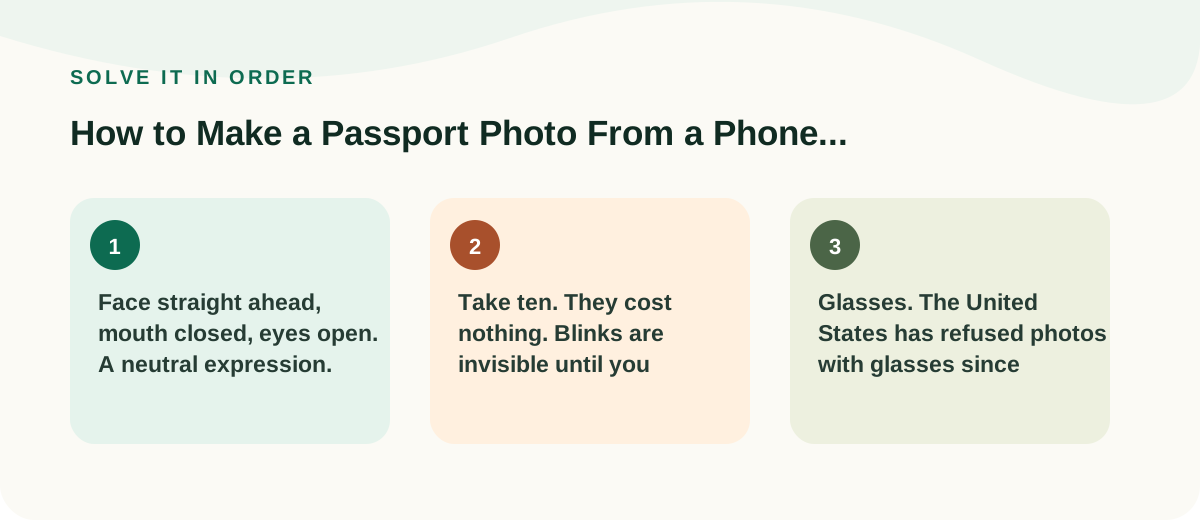
- Face straight ahead, mouth closed, eyes open. A neutral expression. A small closed-mouth smile is accepted in some countries and refused in others, so the safe choice is none.
- Take ten. They cost nothing. Blinks are invisible until you look properly.
Take the photo at the normal setting, not portrait mode. Portrait mode softly blurs the background, and a blurred background can be read as an altered photo.
Step 2: the rules that actually cause rejections
These are the ones clerks check, in roughly the order they check them.
- Glasses. The United States has refused photos with glasses since 2016, and many other countries refuse them if there is any glare or if the frame crosses the eyes. Take them off. This is the single most common reason for a rejection.
- Head covering. Permitted for religious or medical reasons in most countries, provided the full face from chin to hairline is visible.
- Shadows. Both behind you and on your face. Move nearer the window and further from the wall.
- Age of the photo. Most authorities want one taken within the last six months.
- Uniform and heavy jewellery. Usually not allowed. Wear ordinary clothes in a colour that is not the same as the wall.
- Children. Babies may have their eyes closed in some countries and not others, and nobody else may appear in the frame — so no hands holding the child up. Laying a baby on a plain white sheet and photographing from directly above is the usual trick.
Step 3: cropping to the official size
Here is where the millimetres arrive. Every country specifies both the size of the picture and how much of it your head should fill. The common ones:
- United States: 51 × 51 mm (2 × 2 inches), head from chin to crown between 25 and 35 mm.
- United Kingdom: 35 × 45 mm, head between 29 and 34 mm.
- Schengen and most of Europe: 35 × 45 mm, head between 32 and 36 mm.
- South Korea: 35 × 45 mm, head between 32 and 36 mm.
- Japan: 35 × 45 mm, head 34 mm give or take 2 mm.
Cropping by eye will not hit those numbers. Our Passport & ID Photo Maker puts the country's frame over your picture and shows you where the top of the head and the eye line have to sit, so you drag until it fits rather than guessing. The photo is opened by your own browser and is never sent to us — worth knowing, given that this is a picture of your face attached to a government application.
Always check the current requirement on the official website of the country you are applying to before you print. These specifications change, and the office that will judge your photo is the authority on it.
Step 4: printing, or uploading
If you need it on paper, the tool can lay several copies onto a standard 4 × 6 inch photo sheet. Save that sheet to a USB stick or your phone and take it to any photo counter — a chemist, a supermarket, a print shop. Ask for a 4 × 6 print on glossy or matte photo paper, at actual size with no border and no automatic correction. That last part matters: "fit to page" will silently resize your careful millimetres. Then cut along the lines with scissors.
If you are applying online instead, the form will usually set a maximum file size, often somewhere between 240 KB and 2 MB. If your photo is too large, our image compressor will bring the size down without changing the dimensions you just set.
When to go to a shop instead
We would rather you succeeded than used our tool. Go to a professional if the application is a visa for a country with strict biometric checks, if it must be taken by an accredited photographer as some visa centres require, or if you have already been rejected once and cannot see why. A rejection can cost you weeks; a shop photo costs rather less than that.
Common questions
Can I use an old holiday photo where I look nice?
Only if it happens to satisfy everything above — plain light background, no shadow, facing the camera, no sunglasses, taken within six months, and nobody else in the frame. That is rare. It is quicker to take a new one against a wall.
Does the background have to be pure white?
It depends on the country. The United States asks for white or off-white, the United Kingdom for light grey or cream. Plain and light is what all of them share. Do not try to replace the background digitally — an even wall photographed in daylight looks correct in a way an erased one does not.
My phone photo is enormous. Is that a problem?
No, and it helps. A large photo has plenty of detail to spare when it is cropped down to 35 × 45 mm. Start with the biggest version you have rather than one that has been shrunk by a messaging app.